How Can Product Tours Instantly Hook New Users?
We've all been there: You sign up for a new tool, excited to try it out… and then—bam!—a never-ending parade of pop-ups, arrows, and tooltips hijacks your screen. Click this. Now click that. Still not done? Too bad! You’re trapped in the onboarding maze with no exit in sight.
Here’s the harsh truth: most product tours don’t help—they annoy. Instead of guiding users to success, they overwhelm, frustrate, or worse, get skipped entirely. And when users bounce before experiencing value, engagement plummets, and churn skyrockets.
So, how do you create a successful product tour that people actually want to go through? One that attracts, engages, and converts instead of driving users away? Let’s break down the basics of how to create an irresistible product tour that hooks your audience from the first click.
What is a product tour?
Imagine onboarding a new team member to your CRM—you wouldn’t just give them the user manual. You’d walk them through key workflows and best practices. A user-friendly product tour does the same, helping users navigate key features and drive product adoption, reducing drop-offs, and boosting engagement.
Yes, a great tour tells a story, not just gives a product walkthrough. Here's how it works:
Instead of dumping specific features, a great product tour answers “How does this help me?”—showing real solutions, not just functionality.
Most importantly, it respects users' time. No one wants a tedious tutorial when they’re eager to dive in. Drag it out, and they’re gone.
By starting with essentials and introducing advanced features naturally, you create a seamless user journey—guiding them, not overwhelming them.
Key Components of a Product Tour (That Users Won’t Skip)
A bad product tour overwhelms, confuses, or worse—gets ignored. A great one? It guides users effortlessly, showing them value fast without wasting their time.
Here’s what separates an effective product tour from a frustrating one:
Clear Objectives: If users don’t know what they’re supposed to achieve, they’ll drop off. Define the goal—whether it’s activating a feature, completing a setup, or just getting familiar.
Welcome Screen: First impressions matter. A quick, engaging introduction sets expectations and reassures users they’re in control—not trapped in a forced tutorial.
Step-by-Step Instructions: Nobody wants to be bombarded with too much at once. Break down complex actions into clear, digestible steps that guide users without overwhelming them.
Interactive Elements: People learn by doing. Let users click, explore, and interact instead of just passively reading or watching. Hands-on learning = better retention.
Progress Indicator: Ever felt lost in a tutorial with no idea how long it’ll take? So do your users. A simple progress bar keeps them motivated to finish.
Contextual Guidance: Don’t just show what a feature does—explain why it matters. Users need to see real-world benefits, not just buttons and menus.
Call to Action (CTA): What’s next? If users finish the tour but don’t know their next step, you’ve lost them. Whether it’s personalizing settings or trying a key feature, the CTA must be clear, compelling, and actionable.
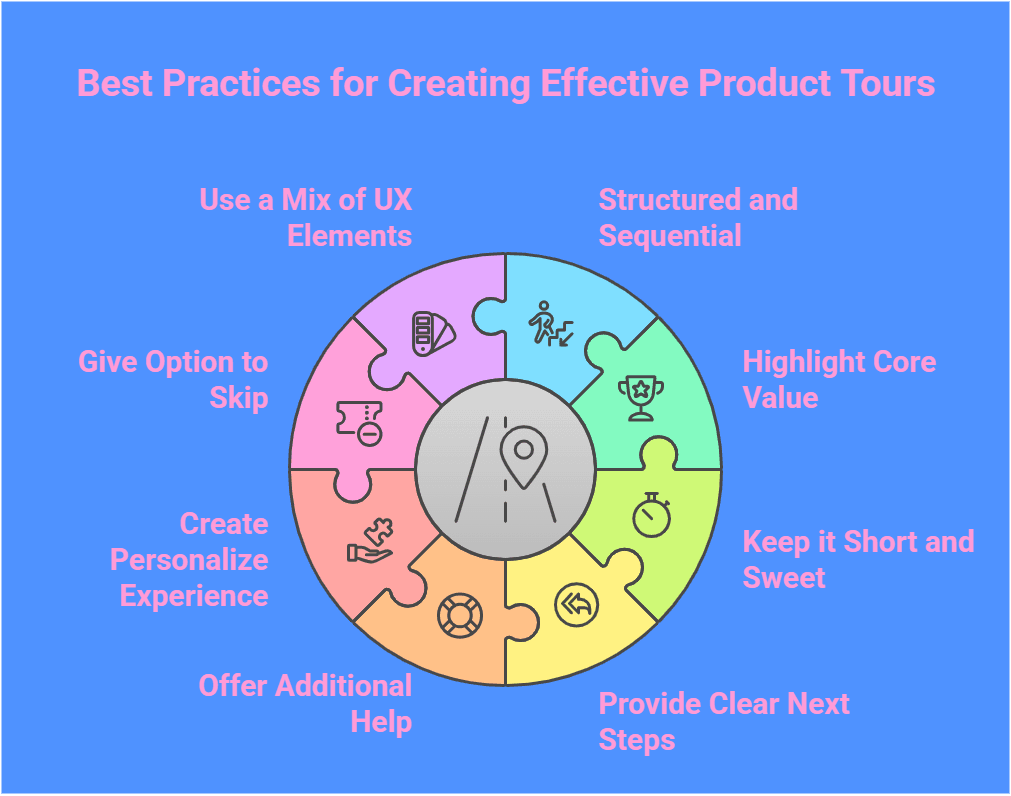
8 Best Practices for Engaging Product Tours that Drive Results
Now that we know the amazing benefits a great product tour can bring, it's time to know the best practices to follow as getting it right isn’t easy.
Here’s how to avoid the common pitfalls and create a product tour that actually works:
1. Keep It Structured and Sequential
Ever clicked through a tour that felt completely random? A tooltip here, a pop-up there—no clear direction, just chaos.
That’s exactly what frustrates users and makes them drop off. Your tour needs a logical flow, guiding users step by step toward their first success.
Note: if they don’t see immediate progress, they’re gone.
2. Highlight the Core Value, Not Every Feature
Nobody signs up to explore features—they sign up for a result.
Bombarding them with every possible option right away? That’s a surefire way to overwhelm them.
If they can’t see how your product solves their problem in the first few minutes, they won’t stick around to figure it out. Cut the fluff. Focus only on what gets them value—fast.
3. Keep It Short and Sweet
Your users didn’t come here for a training course. They came to get something done.
If your tour drags on, they’ll click “X” faster than you can say “onboarding.” The longer the tour, the higher the chance they’ll disengage.
Give them just enough to get started—no more, no less.
4. Provide Clear Next Steps
Ever finished a product tour and thought, “Now what?” That’s exactly what you need to prevent.
Users should never feel lost after the tour ends, especially in an 'empty state.' Whether adding data, setting up an integration, or taking the following meaningful action, make it painfully obvious.
Confusion leads to drop-offs, and drop-offs lead to churn.
5. Offer Additional Help When Needed
Some users will breeze through the tour. Others will struggle.
If they hit a roadblock and don’t know where to turn, they’ll abandon ship. Make sure help is always within reach—whether it’s an easy way to revisit the tour, access a guide, or get real-time support. If they feel stuck, they’re already halfway out the door.
6. Personalize the User Experience
One-size-fits-all onboarding? That’s a guaranteed way to make it irrelevant for half your users.
Not everyone needs the same guidance. If your tour isn’t tailored—whether by role, goal, or experience level—it’s likely frustrating the very people it’s supposed to help.
Give them what they need, when they need it. Nothing more, nothing less.
7. Always Give the Option to Skip
Some users just want to dive in. Forcing them through a tour they don’t want will only create friction. And frustrated users don’t stick around.
Give them the freedom to explore on their own, while making it easy to come back if they change their mind. Nobody likes being forced into hand-holding they didn’t ask for.
8. Use a Mix of UX Elements
A wall of text? Annoying. Too many tooltips? Overwhelming. Too many pop-ups? Distracting.
The wrong approach makes the tour feel intrusive instead of helpful. Balance is key—use the right UI elements at the right moments so users stay engaged instead of feeling bombarded.
How to Create the Right UI Pattern for Your Own Product Tour?
You’ve built an amazing product, but if users don’t "get it" fast enough, especially when they log in for the first time, they bounce. And let’s be real—no one enjoys a clunky, never-ending product tour. Too many pop-ups? Users rage-click “Skip.” Too little guidance? They feel lost and leave. The right UI pattern guides without annoying, making onboarding smooth instead of frustrating.
1. Meet Users Where They Are
Not everyone learns the same way. Some dive in headfirst, clicking around to figure things out. Others need structured guidance or they feel stuck. Force everyone through the same rigid tour, and you’ll frustrate half your users. Instead, offer options—an interactive guide for those who need it, a skip button for the pros, and contextual help when needed.
2. Guide Without Interrupting
Ever tried using a tool but got bombarded with pop-ups before even clicking a button? Annoying. Users want to explore, not be forced through a tutorial maze. Use hotspots to highlight must-know features, tooltips for quick hints, and checklists to encourage progress—without hijacking their experience.
3. Fix What’s Not Working
Your first product tour won’t be perfect—and that’s fine. What’s not fine? Ignoring the data. Are users skipping too fast? Dropping off at a certain step? Frustrated by a series of tooltips? Track, test, and adjust. The best product tours evolve with real user behavior—not guesswork.
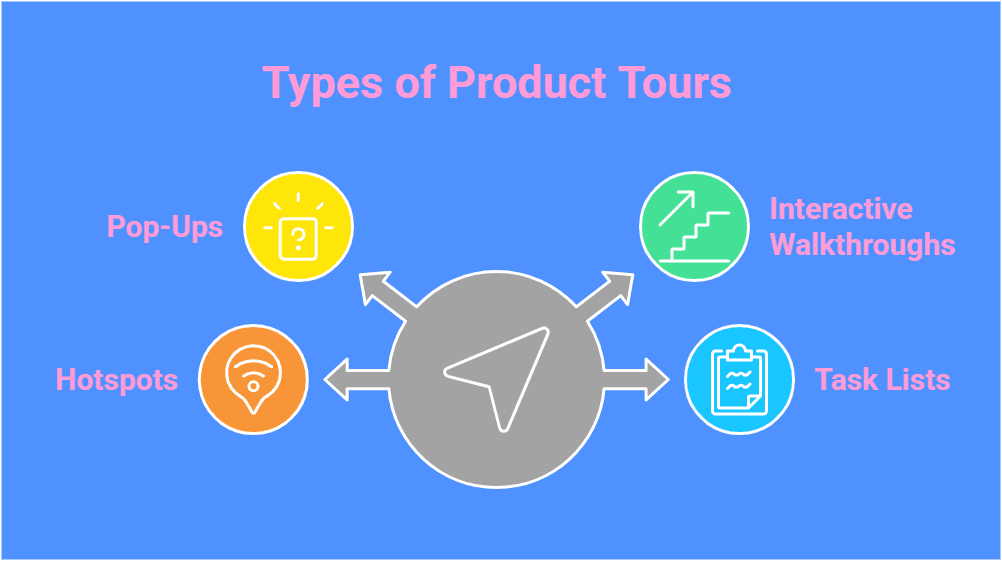
What Are the Different Types of Product Tours?
A confusing product tour is a one-way ticket to drop-offs.
A great tour doesn’t force users to learn—it makes them want to stay.
And that starts with choosing the right approach. Let's check out the various types of tours.
1. Pop-Ups: Grab Attention—Without Being Annoying
Pop-ups work when they deliver the right message at the right time—a welcome note, a significant feature update, or a key call to action. But overdo it, and users will instinctively close them without reading. Use them wisely, or risk becoming background noise.
2. Interactive Walkthroughs: Hands-On Learning That Clicks
Some products are simple. Others? Not so much. If users must complete specific actions before seeing value, an interactive walkthrough is the best bet, especially when compared to linear product tours. Instead of dumping information, Interactive Walkthrough guides users through real actions, step by step, making even complex processes easier so they actually retain what they learn.
Looking for the best solution for interactive walkthroughs? Try SmartCue as it guides users step by step, making complex processes simple and driving faster adoption.
3. Hotspots: Subtle, Smart, and Effective
Nobody likes being bombarded with instructions before they’ve had a chance to explore. Hotspots act as gentle nudges, highlighting key product tour features without disrupting the experience. They’re perfect for surfacing significant tools users might otherwise miss.
4. Task Lists: Turn Onboarding Into Progress
People love progress. A task list gives users a clear roadmap, breaking onboarding into small, achievable steps. Every checked-off task builds momentum, turning onboarding from a chore into a win. And when users feel like they’re winning, they stick around.
What Are the Best Examples of Product Tours?
So now that you have an understanding of how a product tour should be, don't you want to see some stunning product tour use cases and examples? SmartCue has some amazing success stories from clients that have seen the difference in users sticking around after creating excellent product tours. Let's talk about three such examples.
1. YaalaGo
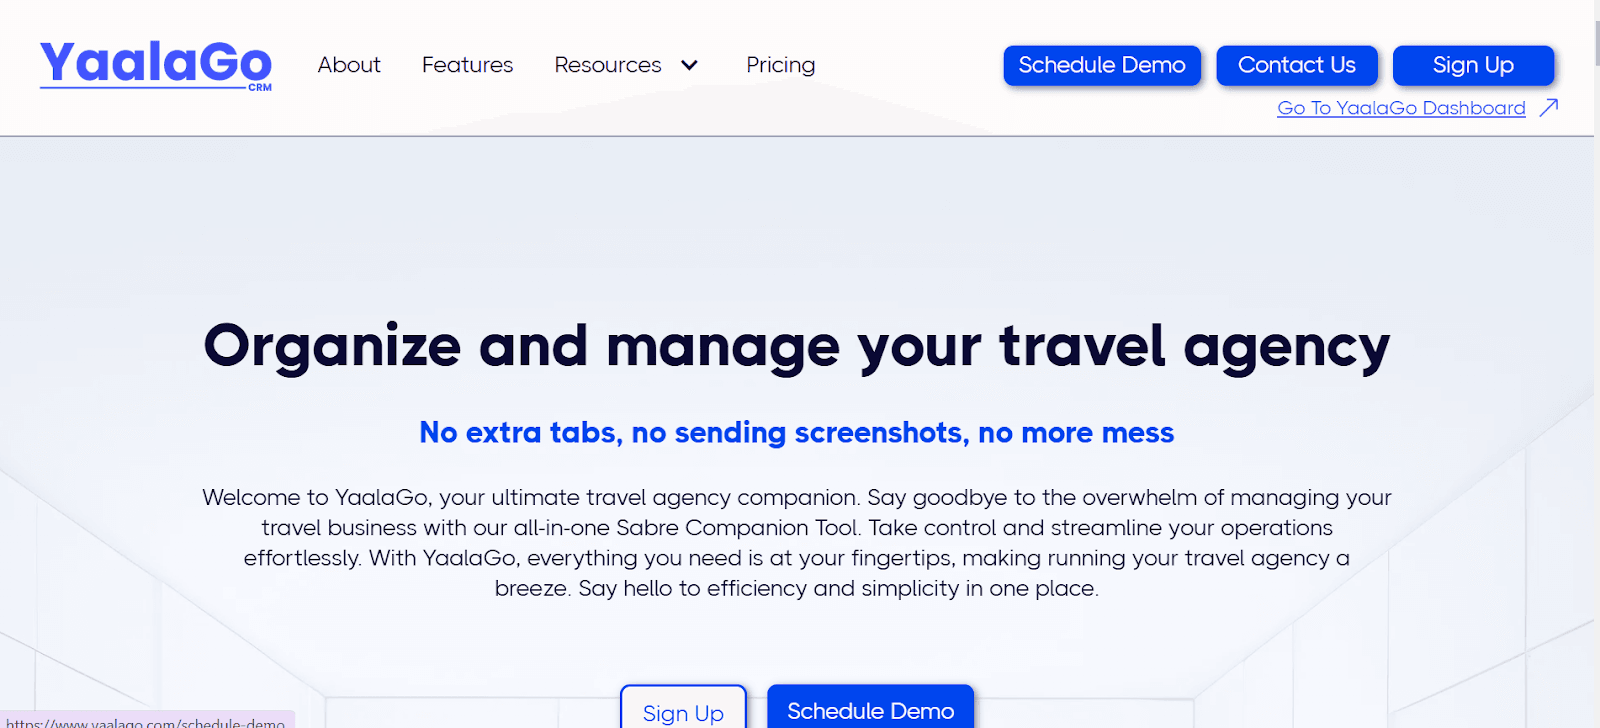
YaalaGo, a Travel Agency CRM, uses SmartCue to deliver personalized product tours tailored to travel professionals. These tours showcase key features like trip management, GDS parsing, and client management, helping agents streamline workflows.
With seamless onboarding and targeted tutorials, YaalaGo ensures users quickly adopt the all-in-one Sabre Companion Tool and other essential features, maximizing productivity.
2. Bynry
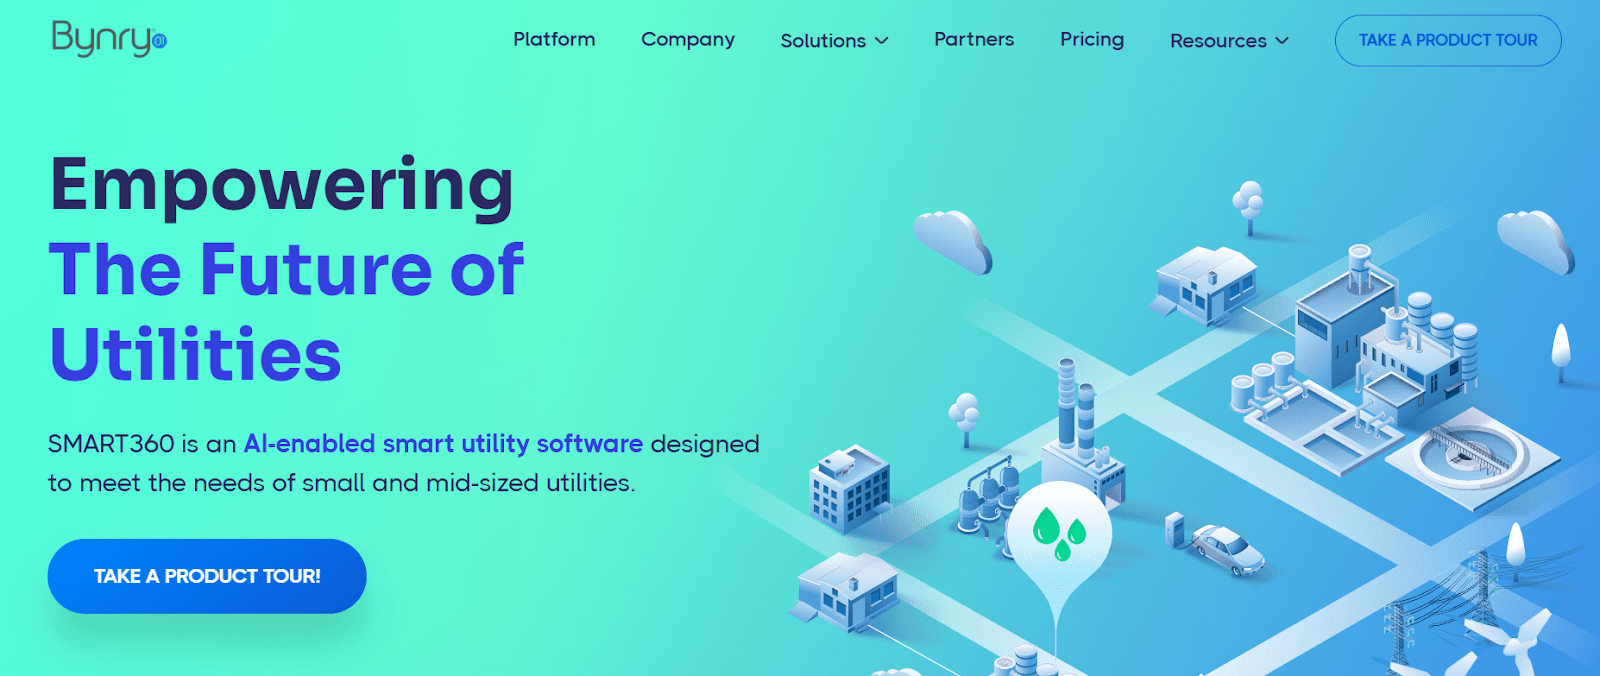
Bynry, a leader in smart utility software solutions, also finds SmartCue to be helpful. The firm uses SmartCue to provide interactive self-serve demos and product tours. These experiences allow potential clients to explore Bynry’s cutting-edge SaaS products, offering a hands-on understanding of their features and benefits.
With SmartCue, Bynry presents demos that highlight key utility management features, comprehensive product tours focusing on AI and analytics capabilities, and seamless onboarding experiences to ensure smooth adoption for new users.
3. Strell
Strell, an AI-powered SEO content optimization platform, utilizes SmartCue to offer self-serve demos and product tours. These interactive experiences allow users to explore the depth of Strell's AI-driven SEO tools, demonstrating how real-time data analysis can significantly enhance content optimization.
With SmartCue, Strell provides product tours that highlight key content optimization features. At the same time, onboarding experiences ensure users become familiar with the platform’s full capabilities, helping them easily optimize their content.
What Is a Product Tour Software?
Here comes the best part, learning about a software that’s specially designed to create an excellent product tour. A clunky, one-size-fits-all tour frustrates users instead of helping them. That’s why the right product tour software matters.
It doesn’t just introduce features—it makes onboarding effortless, guiding users to value without friction.
Here’s what to look for when choosing a software:
Full Customization: Your product is unique—your product features tour should be too. Choose a tool that offers customization options to adapt to your branding, tone, and flow.
Multi-Step Tours That Make Sense: Users need guidance, not random pop-ups. Step-by-step navigation keeps them on track.
User Segmentation for Personalization: Not all users are the same. First-timers need different guidance than power users.
Built-In Analytics That Actually Help: See where users drop off, track engagement, and refine tours based on real data, including A/B testing insights.
Interactive Elements That Engage: Clickable hotspots, tooltips, and real-time prompts turn passive tours into hands-on, interactive demo experiences.
Multi-Platform Support: Whether your product is on the web, mobile, or both, your tour should feel seamless everywhere.
Easy Integrations: Your tech stack matters. Ensure your tour software works with your CRM, marketing tools, and support systems.
Which Is the Best Product Tour Tool to Try?
Users don’t have time to fumble through your product. If they don’t get value fast, they’re gone. That's why SmartCue is here to help, guiding users seamlessly, keeping them engaged, and giving you the insights to optimize.
SmartCue: Personalized and Contextual Product Demos
SmartCue helps businesses create interactive, personalized product tours tailored to different users. It's great for sales, onboarding, and customer education.
Key Benefits:
Contextual, in-app guidance for a tailored experience
Easy-to-build interactive walkthroughs without coding
Analytics to track user engagement
Pros:
Simple and intuitive setup
Great for personalized demos and sales enablement
Supports multi-step interactive guides
Cons:
Limited customization compared to advanced tools
It may not be ideal for complex workflows
Why Is SmartCue the Ultimate Product Tour Solution?
Getting users to understand your product shouldn’t feel like a challenge—users need guidance that fits their journey with their team members. The software delivers personalized, interactive product tours that adapt to individual needs, ensuring users grasp key features without feeling lost or overwhelmed.
More than just a product tour builder, SmartCue helps businesses track engagement with built-in analytics. By identifying drop-off points and refining the experience, it drives better adoption and retention. With a focus on customization, clarity, and continuous optimization, SmartCue makes onboarding seamless and effective.
Here are the steps to create a product tour using SmartCue:
Step 1: Install the SmartCue Chrome extension and log into SmartCue.
Step 2: Create a new Showcase.
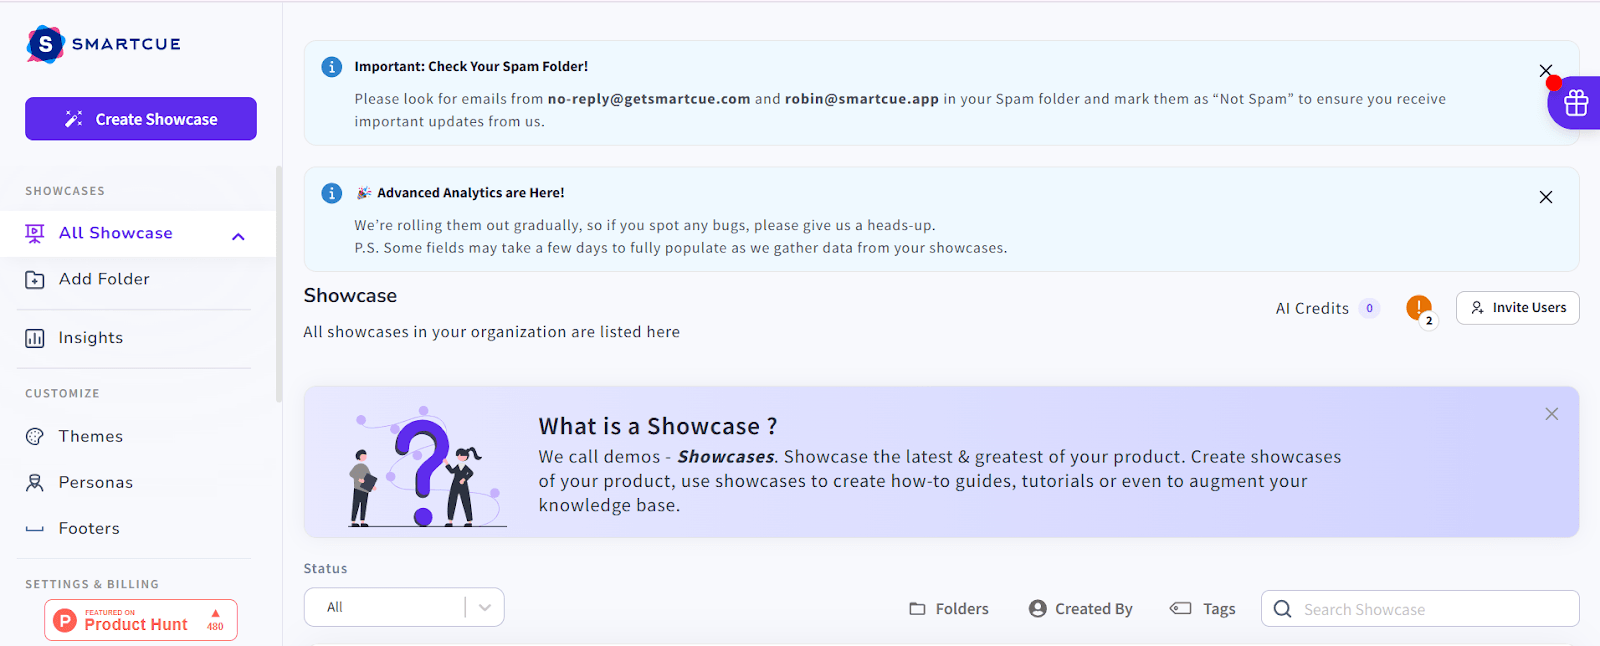
Step 3: On the dashboard, click on 'Capture New' to start the screen recording.
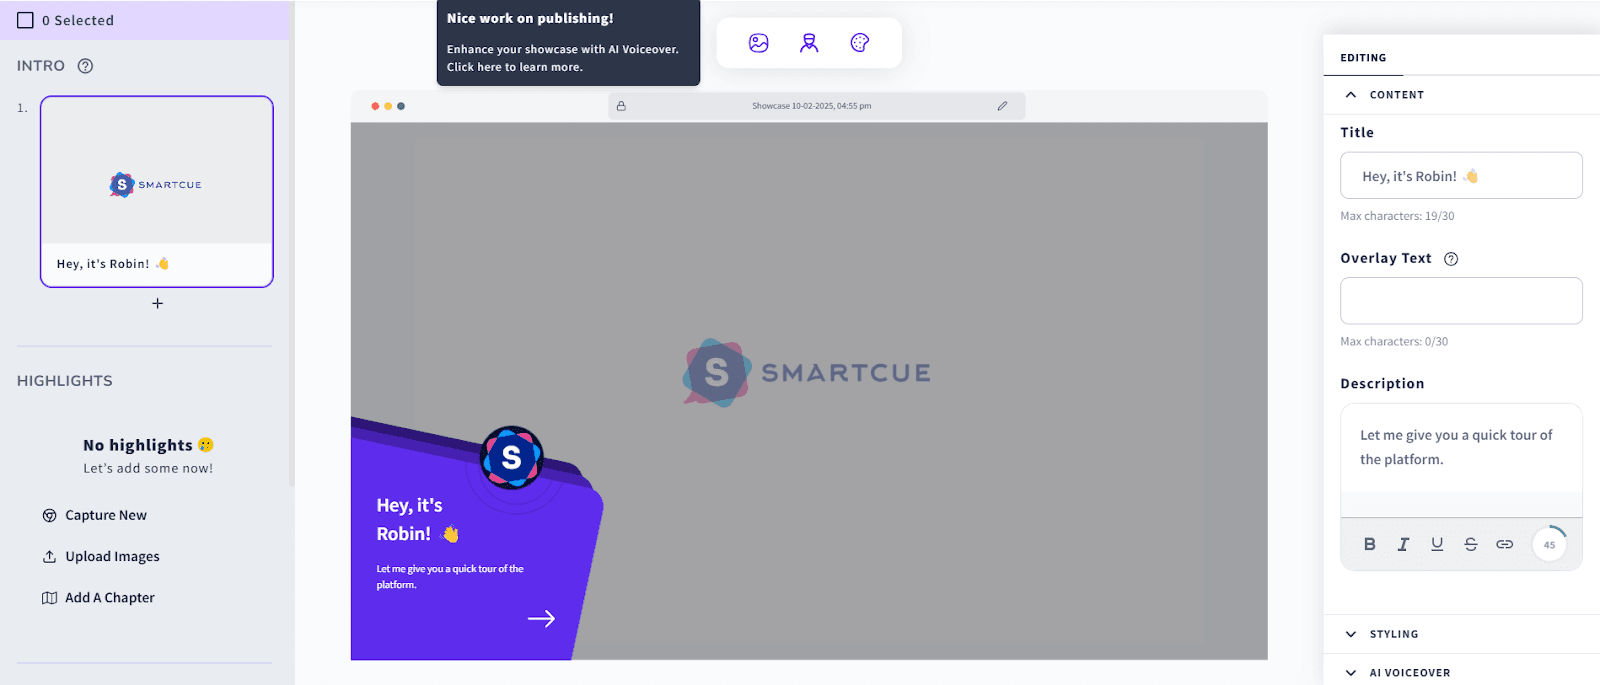
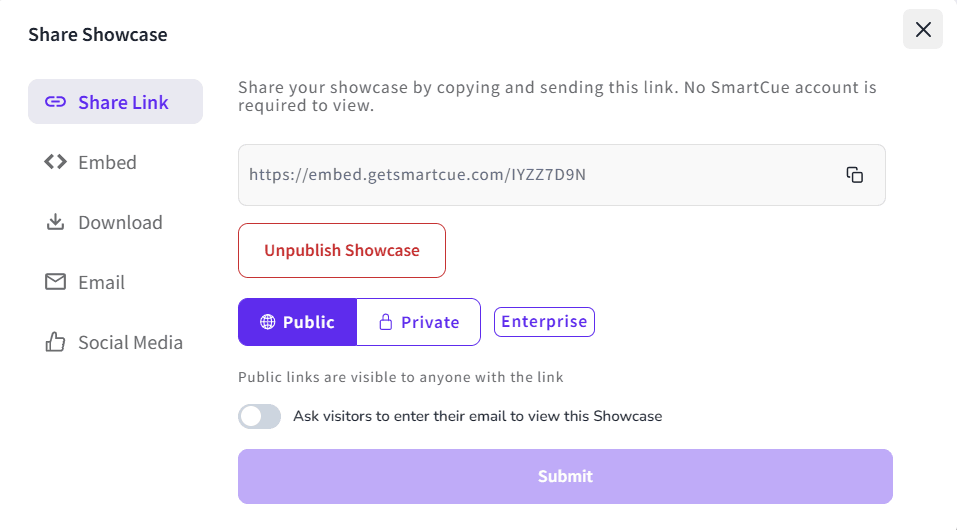
Step 4: Once you're done with all the steps, including recording, publish your showcase.
Pro Tip: As you click on each step, the tool will record it as a different step.
To experience the power of SmartCue firsthand, try our 14-day free trialnow.
Conclusion- Your Product Tour Isn’t Just a Feature—It’s the First Impression
Users don’t sign up to take a tour; they sign up to solve a problem. If your product tour feels like a chore—too long, too generic, or too pushy—they’ll bounce before they even see the value. The real goal? Get them to their first win, fast.
That means ditching the clutter and focusing on what actually matters to them. A well-structured tour should feel like a helpful guide, not a lecture—intuitive, interactive, and built around their needs.
And it doesn’t stop there. User behavior changes, and so should your tour. Track engagement, gather feedback, and refine it continuously. The goal? Reduce friction, boost user retention, and make sure users don’t just start—they stay.
Frequently Asked Questions
What is the ideal length for a product tour?
The best length for a product tour should keep the user's attention in mind. Make it engaging and effective. Try to keep it short. Focus on being clear rather than saying too much. Usually, three to five short steps that highlight different features are enough to get started.
How can I measure the success of my product tour?
Use advanced analytics to check how well your product tour is doing. This will help you track important numbers like how many people finish it, how they engage with features, and where they drop off. Also, get user feedback through surveys and in-app questions. This will help you find ways to improve it.
Can product tours help reduce the churn rate?
Yes, besides attracting new customers, good product tours help reduce the number of customers who leave. They can improve the onboarding process and deliver a personalized experience. This can increase customer satisfaction and show the product's value. When people see the product's value, they are likely to stay.
Are there any best tools to assist in creating interactive product tours?
Yes, many good product tour software tools and SaaS platforms like SmartCue exist that help you create a guided product tour and interactive guides for enjoying better conversion rates. These platforms usually have features of product tour software like easy builders, templates, and Chrome extensions. They make the product tour experience simple and user-friendly.
How often should I update my product tour?
The frequency of your guided tour updates depends on user feedback and product changes. It's essential to check your tour often, fix users' issues, add new features, and update the content. This will keep your tour useful and up-to-date.
Comments
Your comment has been submitted successfully!